Coding is a skill which is becoming invaluable within the modern learning landscape, giving children the knowledge to pick up digital skills which can later be used within the job market and everyday life.
There are lots of different hardware kit options which are geared towards younger audiences, bundling all the essential electronics and instructions into one easy package. One such kit is micro:bit, developed for children to start working on their own projects and learning to code. Getting into micro:bit can help foster a creative mindset, so here’s a quick introduction to micro:bit and its capabilities.
What is micro:bit?
The micro:bit was created by the BBC as a pocket-sized programmable mini-computer – essentially a microcontroller board – designed to be a BBC learning resource which helps to enhance the creativity of young people using technology.
Looking at the driving force behind micro:bit, it was developed as an educational innovation tool so that young people had the resources to become a new generation of tech pioneers. It allows young minds to interact with digital technologies as part of their learning in school and at home.
What do you need to get started with micro:bit?
In order to take your first steps with micro:bit, you’ll need to get your hands on a micro:bit kit which contains all the essential bits for getting started with programming. These will contain:
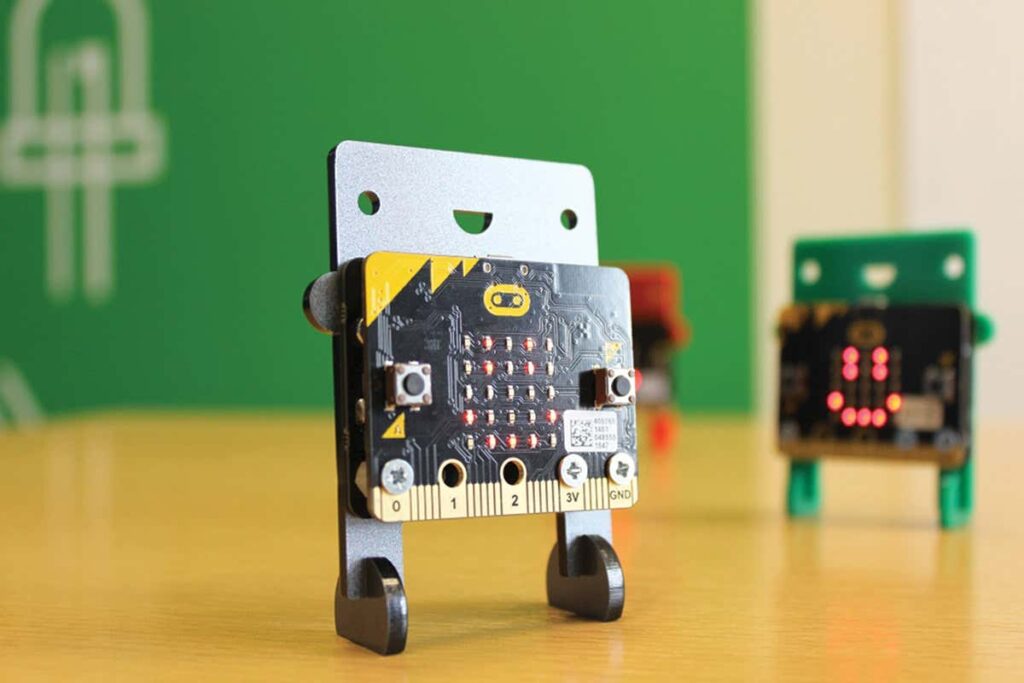
- The micro:bit v2 board
- The battery pack with AAA batteries
- A micro-USB cable for connecting your computer
You can alternatively connect your micro:bit to a phone or tablet with Bluetooth, using the free micro:bit app with MakeCode coding for Android or iOS.
How to start with coding editor
One of the simplest ways to start your coding adventures with a micro:bit is by using MakeCode. This is because it uses a drag-and-drop style interface rather than needing in-depth coding knowledge off the bat, as well as having easy-to-understand tutorials.
By using the different code blocks and dropping them into sequences, you can make your micro:bit perform a number of different functions. Everything is colour-coded too, so once you get more familiar with the program you can tell what things do at a glance.
After you’ve mastered MakeCode, you can pick up MicroPython as an alternative programming language which can take your skills to the next level.
What kind of projects can micro:bit manage?
There’s a wide range of projects which a micro:bit can handle, from beginner-friendly options through to expert-level tasks:
Beginner – Sunlight sensor
You can make your micro:bit react to light as the LEDs on the board can also act as an input device light sensor. This uses an ‘if…else’ statement to react to light levels greater than the level you select.
Intermediate – Jukebox
If you’re feeling a little bit musical, then why not flash a jukebox program onto the micro:bit! You can program the board to play different sounds when certain buttons are pressed – all you need to do is connect up some form of sound output.
Expert – Door alarm
When you’re feeling confident about your tech skills and want to keep your innovations safe in your room, your micro:bit can become an alarm for your room. This will emit a sound when your micro:bit detects that your door has been opened – great for keeping out pesky intruders.
These are just a few ideas that showcase how the micro:bit can let a child’s imagination and creativity flourish by taking on projects that interest them. By getting more familiar with coding, and potentially even progressing onto the MicroPython language, their creativity can take them in all sorts of directions going forward in life.