Tips for Using External NTFS Drive on Mac
New Technology File System NTFS is a file system developed by Microsoft Windows in 1988. The NTFS file system was replaced by FAT 32 and later it became a default system in Windows 10, Windows 8, Windows 7, Windows Vista, and Windows NT operating system. This file system is also supported by another operating systems such as Linux and Mac operating systems.
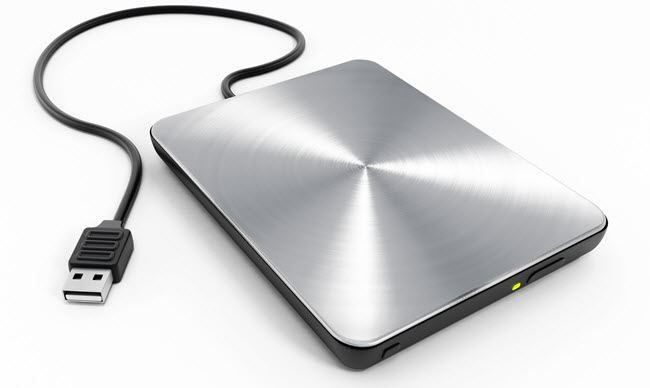
NTFS system was mainly manufactured for Microsoft to allow easy plug-in of NTFS into Windows machine. Due to the widespread usage of Microsoft Windows, most of the external hard drive and flash drive pre-format drives to the New Technology File System, NTFS.
One of the drawbacks of using an NTFS external hard drive is that it can only be read on Mac operating system and you may need a third-party NTFS for Mac app to write to it. It doesn’t allow you to write i.e. a user can only read and view files and cannot change files or edit files.
Tips to Use External NTFS Drive on Mac:
Following are some of the tips and tricks on how you can use NTFS-formatted hard drive on the Mac operating system.
- Use A Third-Party App:
The fact that Mac operating doesn’t allow editing on NTFS drive lead to the development of third-party apps which allow users to write, delete, and read on Microsoft Windows disk.
This is relatively more significant if you have to regularly switch your drive between Mac OS and Windows and want to access large-size files that FAT32 is unable to store.
iBoysoft NTFS for Mac is a third-party NTFS app that ranks on the list of best third-party NTFS for Mac apps. It also offers seven days trial period, which helps you to understand how it works or whether it is applicable for your needs before paying the price and regretting later. After installation, this app allows you to make changes to your data and files seamlessly on Mac OS.
- Format to FAT32:
If you have an NTFS drive, you can format your drive to FAT32 on Mac operating system. This means you can read, write, and delete data on your hard drive/flash drive on both Mac and Microsoft Windows.
One of the drawbacks of using the FAT32 format is it only supports file sizes up to 4GB. It will come up as a problem if you are thinking to store high-quality images or videos.
To Format NTFS to FAT32:
To get started, click the Spotlight icon at the top right corner of your screen and click Disk to launch Disk Utility. Insert your NTFS hard drive or flash drive and click to highlight the disk title on the left-handed side of Windows.
Select the Erase tab. Under format click “MS-DOS FAT”. Enter the new title for the drive. Again, click Erase to continue. Before proceeding, make sure to read the content under the heading of Warning, as this step will delete any data saved on your hard drive. From now on, you will be able to edit or move files and data in place from Mac or Windows.
- Permit NTFS Write Support in Terminal:
You can enable writing support for the specific operating system using Mac OS Terminal. One of the drawbacks is the risk of data loss and corruption so before using it, make sure to completely backup your Mac data and files before continuing the process.
The main advantage of utilizing Terminal is that it’s free. As this highlight is still within the testing stage in any case, your records can end up debased at any time, so continue with caution.
To enable NTFS Write Support Terminal:
Click on the spotlight icon at the top right corner of your display and enter Terminal. Connect your NTFS drive and enter the given command:
sudo nano /etc/fstab
This will further open up the list of drives recognized by the Mac operating system. Use the arrow header on your keypad to the very end and add the following line, replacing the title with the actual title of your NTFS external drive.
After that press CTRL+O to save the list and then press CTRL+X to exit the NANO. Further on, connect your Windows drive to Mac OS.
Open Finder and click Go, go to the folder then type Name, where name is the title of your NTFS drive. Again, click Go to access your Windows disk. And voila, you should be able to edit files and add new files here.
Verdict
NTFS file access can fairly drain your energy in the process. to gain access. It is quite a task and if you mistakenly make one mistake, all of your data is at risk of data loss. so keeping that in mind, follow these above steps to use an NTFS external hard drive your Mac.


