DIY power bank is easy but most people don’t find enough time to make it and just buy it rather than making one themselves. But we have found if you try to make one yourself you can actually get a really decent power bank in just half of the price of a power bank available online.
And also there is the joy of building something yourself. With your own custom design powerbank you can actually improve or upgrade it with time. A couple of new batteries every now and then will keep enhancing you power bank’s charge limit or ‘juice’.
Yes, there are some even cheaper powerbanks that you can buy online . But they don’t nearly have enough battery life or ‘mAH’ in them. And if you see some power bank offering 10,000 mAh or 20,000 mAh at 10$, don’t buy that. Because its more likely to be a scam from one of those Chinese companies. On the other hand you might get some decent power banks with that much battery life for 40$, 50$ to a 100$. The more you spend on a power bank the better as the manufacturers that charge more money for their product usually are reputable companies.
So, if you do plan to buy a power bank online then we can provide you with some of our preferred choices below.
Decent power banks on Amazon .com
.com
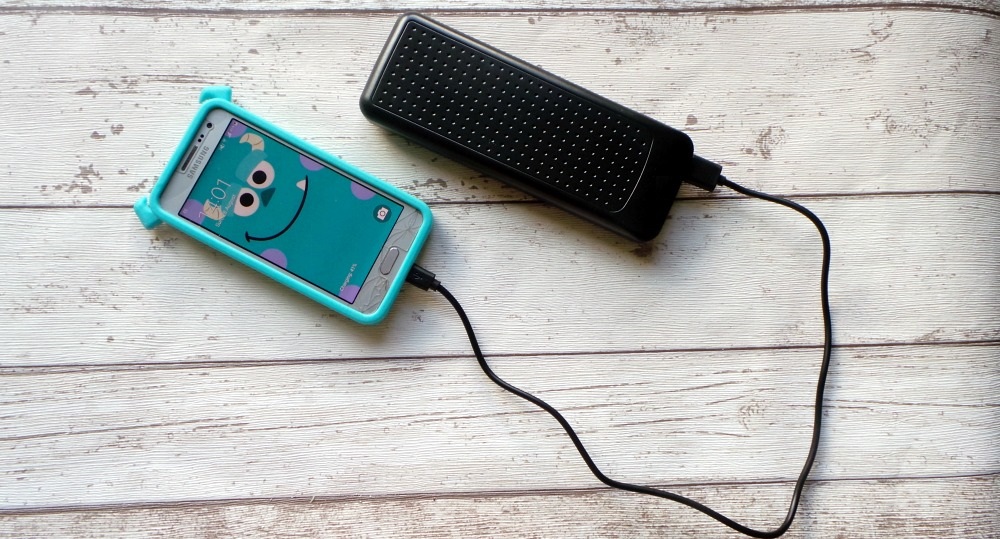
DIY power bank
For a DIY power bank (Do It Yourself power bank) you only need 5 things.
- A battery, obviously (18650 lithium cell in our case)
- A battery charging board.
- A soldering iron (which is costly and if you don’t have it, you can borrow from some one. Or comment down below we will show you how to make one).
- Some wires (You can find old wires lying around in the house).
- A wire clipper (Not really necessary, you can clip wires with scissors too).
These are about all the things you need. See under the end of this post for purchasing links and prices of each individual component.
All around these things will cost you a total of 20$.
The batteries are actually the most important and expensive part of a power bank. But if you can go through your old electronics the chances are that you can find these exact batteries for free in your home. They can be found in old laptops, rechargeable / portable lights, radio, or any small rechargeable electronics that you have no need for.
So, let’s get started with the construction.
DIY power bank construction
- First of all, you connect the battery’s positive and negative terminals to a wire. You can use more than one of these batteries, actually the more batteries you use the better. Just connect any number of batteries in parallel, meaning positive end of one battery to the positive end of other.
- Once you have done this and have a positive and negative wire of the battery (single battery or many connected in parallel). Then you can just simply solder them to the positive and negative on the battery charging board.
- Believe it or not, you are just about done. Now, check by plugging in a charger to the micro USN input port. If you see some lights showing then it means your power bank is in fact charging.
- Now, just cover up the battery or batteries and the PCB(battery charging board) in a container. Old plastic pencil box can do the trick. Make sure that the input/output ports and the power button on the PCB are openly visible so that you can interact with them.
- You can design the look of the container or your power bank as you like.
DIY power bank parts
The Batteries and the battery charging board are essentially the main parts of the power bank. If you can find some old 18650 batteries for free, and have a soldering iron or can borrow someones. Then you only need a battery charging board and hook it up to your batteries connected in parallel and voila, you have yourself a power bank.