Don’t want to take boring shots of clothing lying on the table? Would like to take professional, high-end apparel photography as in fashion magazines? Read the following clothing photography tips on how start selling clothes faster with the help of your photos.
1. Background Should NOT Distract From Your Clothes
The first thing you should determine about backgrounds is to choose a backdrop in accordance with your purpose and the color scheme of your apparel. The apparel images taken for e-commerce are typically set against a plain white backdrop whilst lifestyle photography requires elaborate setups and various props. Clothing photography for online shops has a white background as a basis. This is done to provide a uniform look of the shop page even with different suppliers. Another reason is to eliminate any distractions and bring all attention to the product.
If you don’t have a white backdrop or don’t want to spend money on the professional photo studio, don’t worry, there are multiple options for you starting from cheap DIY variants like a wall or a blanket. At craft stores, you can also get a big roll of white paper to use for photographing clothing. It will only cost about $10, plus some tape to fix it to a wall or another surface and there you have your own studio.
If lifestyle is your genre, anything can become a backdrop. For eye-level, any sort of painted or textured wall could do, and for flat lay clothing photography floors and tables are a perfect fit.
2. Always Keep a Lint Roller at Hand
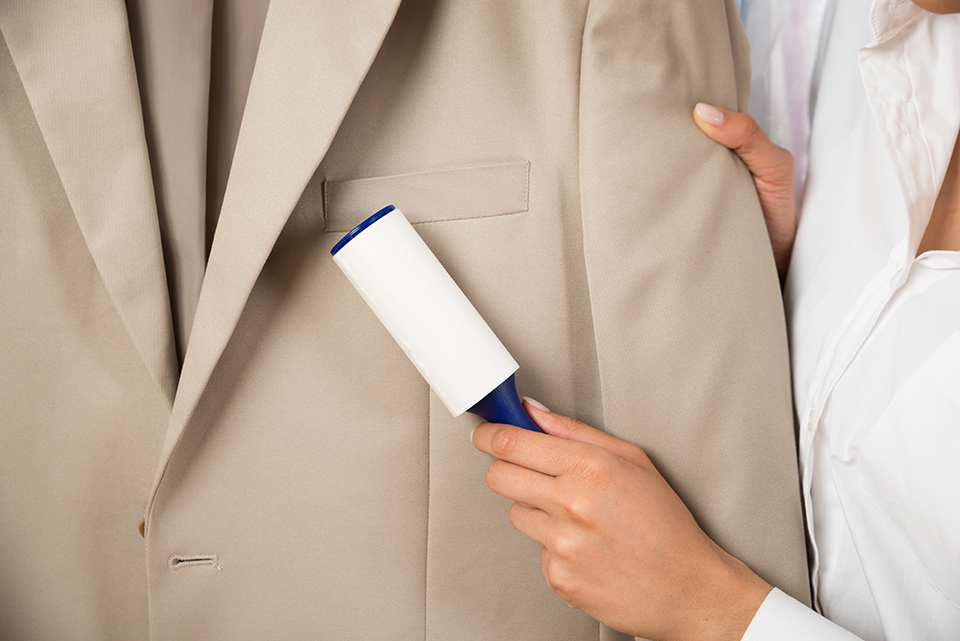
Keeping a sharp eye on details is what turns a common photographer into a professional, so make the outfit as flawless as possible before clicking the button. Problem number one in clothing product photography is wrinkles. You can sure wipe them off in Photoshop, but it is better to iron the outfit or at least use a steamer if the fabric is sensitive. The second most annoying imperfection is lint, so make sure to have a sticky roller in the studio or with you for each photoshoot.
3. Set Lighting Right
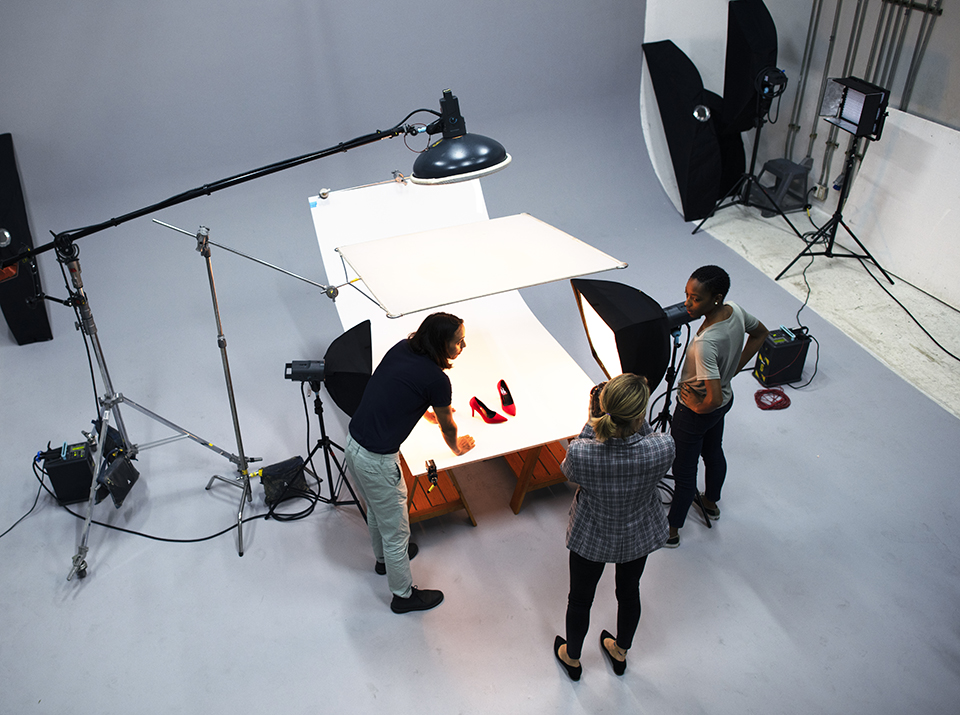
Clothing photography looks realistic when you use natural lighting. Approach a window and use the sunlight, making sure it is even and diffused. That’s pretty obvious to a photographer, but what about shooting at nighttime? For those occasions, you should really get a softbox lighting. It may cost around $20 and allow you to do high-quality indoor photography.
To soften the artificial light, hang a white curtain in front of it, at about one meter away. Also mind the angle of the lighting kit, set it at 45 degrees to the clothing items you’re shooting. Since you’re wondering how to photograph clothes professionally, it would make sense to get a softbox too. The price tag for that is higher, starting from $50, but the investment is worth it if you want to bring your photography to a professional level.
4. Use 50mm Lenses and Larger
The main secret of how to photograph clothing is to preserve the dimensions, so the perspective is very important and certain lenses can play tricks on it. A short focal length like 18mm or 35mm is unsuitable for this genre due to a noticeable fish-eye distortion it causes. A wide-angle lens is another one to misrepresent outfits in photos.
Using an 18-55mm Kit lens, for instance, is fine as long as you zoom all the way in while working. That may force you to keep a longer distance from the object but will ensure realistic representation. If you’re going deep into clothing product photography, then don’t grudge money on an 85mm or 135mm portrait lens. They eliminate distortion and slim the outfits quite nicely.
5. Work with a Mannequin
When you’re not hiring a model, a great way to figure out how to photograph clothes is to use a mannequin to help customers see clothes in a more realistic way. They will appreciate the possibility to visualize the item better on their body and this also increases purchasing.
Ghost mannequin photography is a highly requested technique and is also less problematic for the photographer. Don’t forget to remove the background after shooting for a more put-together look in pictures.
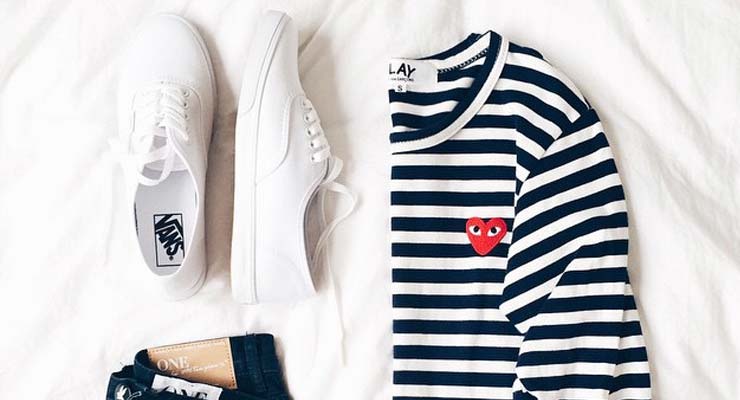
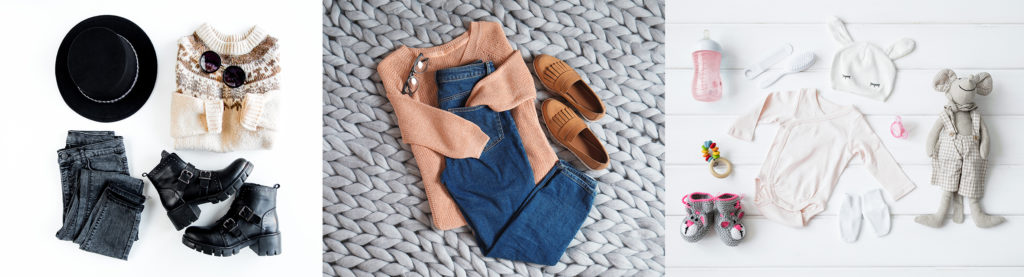
6. Take Stylish Flat Lays
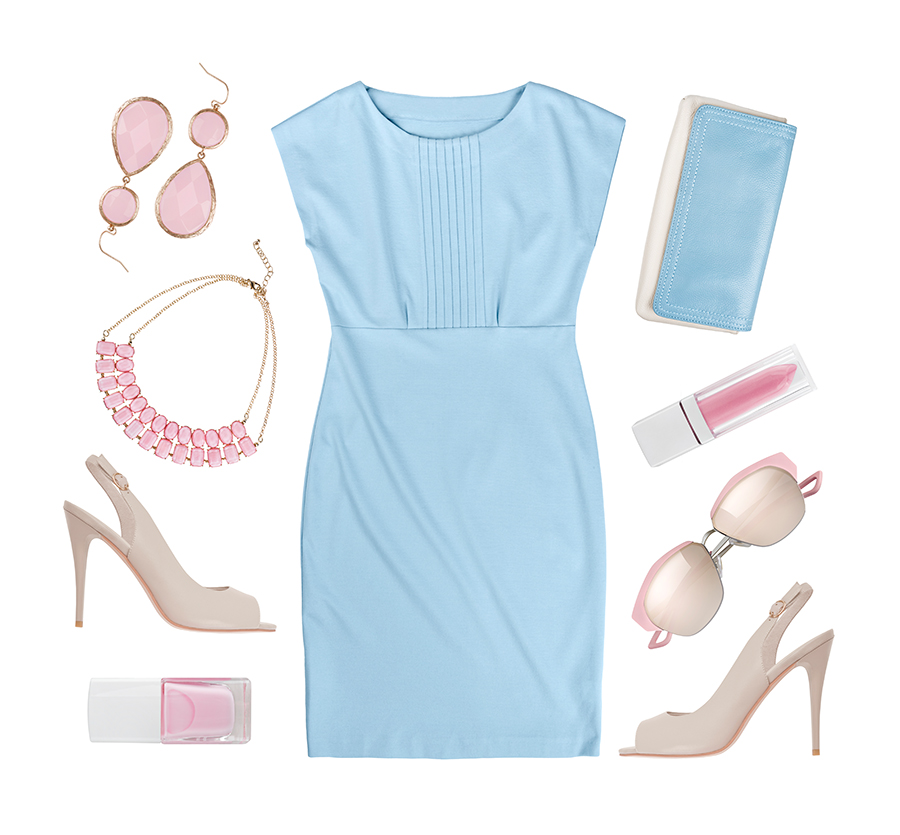
If you don’t have a model or even a mannequin, flat lay clothing photography is the obvious way out. From the name, you realize that you’re supposed to lay the clothes flat on a surface and that can be done either with them folded or open. Your photo will look livelier if you get some accessories or props to add. Once the layout is complete, set the camera at 90 degrees to it and shoot. This technique is highly used in Instagram clothes shops.
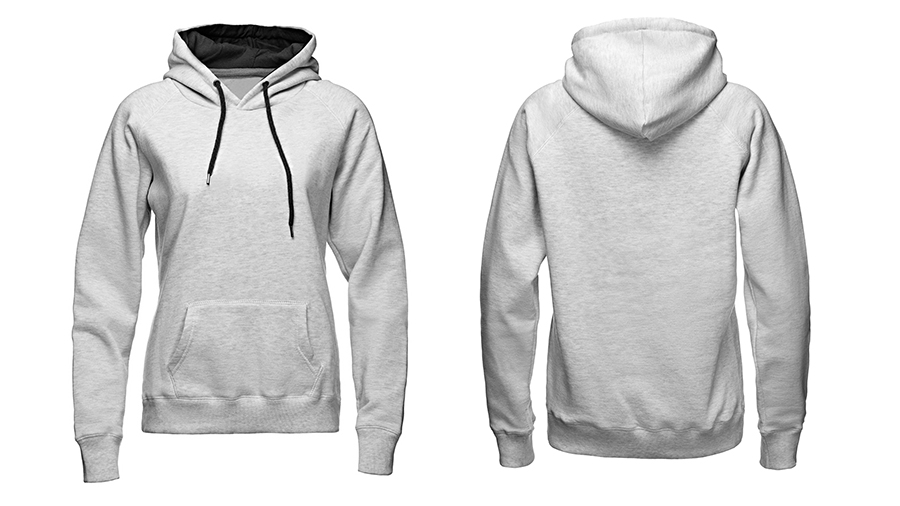
7. Take Eye-Level Shots
This clothing photography technique can be used in any situation, whether you’re shooting with a model, a mannequin, or simply on a hanger. Simply position your camera on the same level as the goods but use different perspectives to get a better view of the details. Also take pictures from front, side, and back.
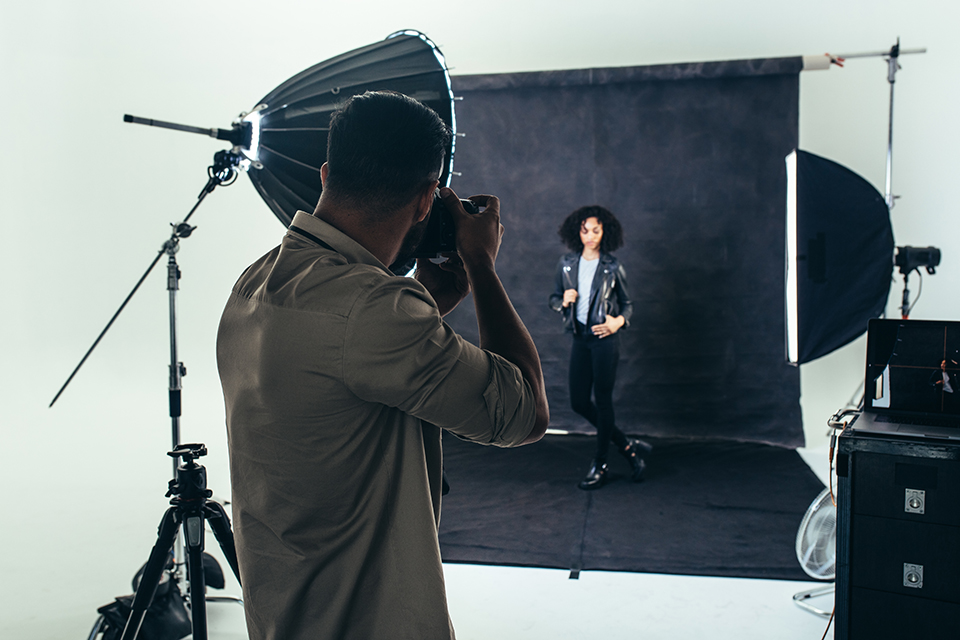
8. Collaborate with a Model
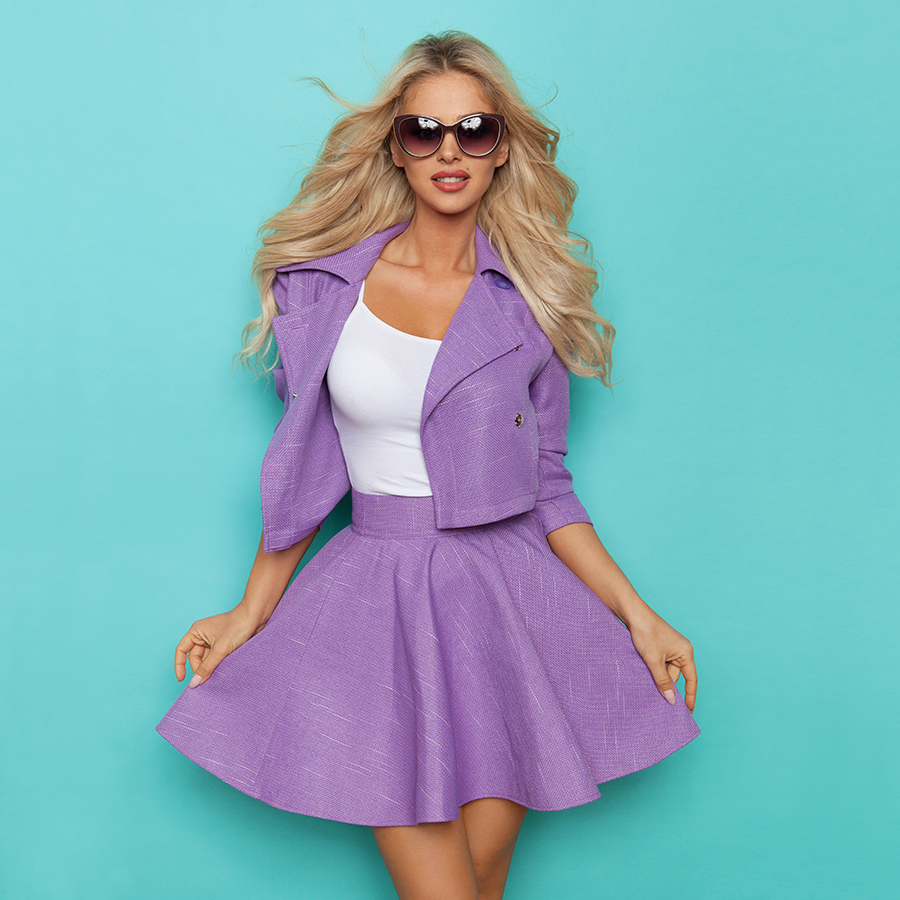
It is always better to have a professional model to show out the outfit when the budget allows that. A model can highlight and flatter certain features of the clothing by different poses. Such in-context photography suit both e-commerce and social media, especially Instagram where many people do their shopping.
For a brand, apparel photography with a model allows showing more of its own mood and personality. Thus, many brands carefully select models to represent the type of customer they’re targeting at. You will understand the idea better if you just compare models of two brands like Zara and Arnhem who differ a lot.
9. Erase All Blemishes with the Spot Healing Tool
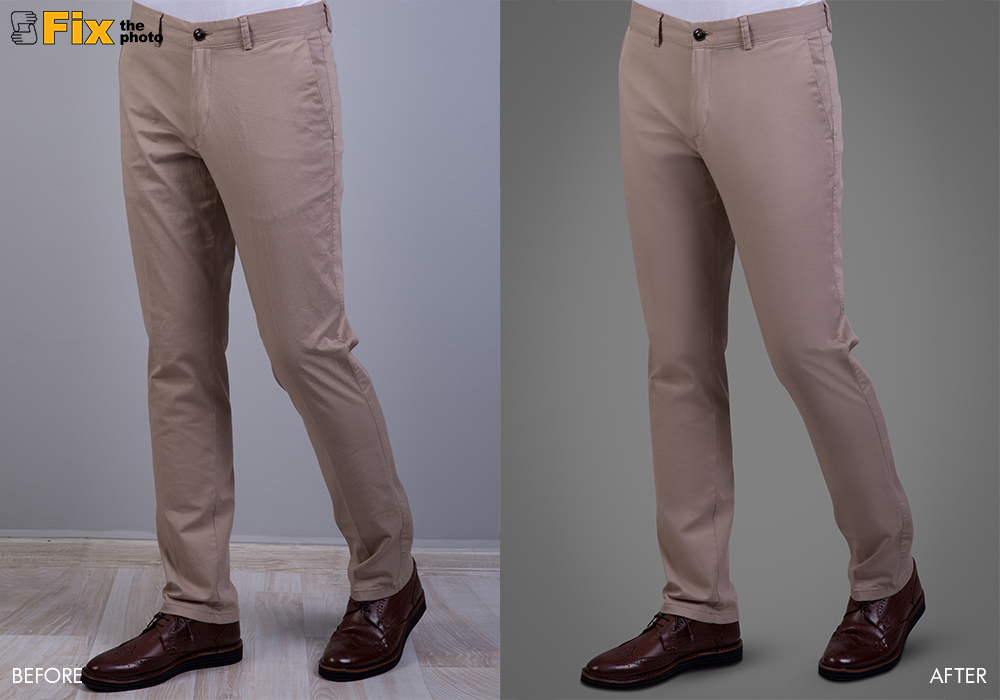
Even if you carefully iron all clothes, during shooting they may still get creased and wrinkled. Thus, you need to know not only how to photograph clothing but also how to retouch photos. As for creases and other imperfections, there exist three ways to get rid of them. The easiest way is to use the Healing Brush tool. Select it, click on the defect, and Photoshop will cover it up in an instant.
It may be that the algorithm misbehaves and you will have to perform the same action manually with the Patch tool. Select it and circle the area of the problematic element while holding your mouse button. Once you’ve done a loop, drag it and drop on a clean area you want Photoshop to use as a patch.
When the crease is big, it makes sense to do more precise work with the Clone Stamp tool. Bring the pointer to a clean area, Alt+click there to copy it, then paint over the distracting part. This instrument may leave some harsh edges on the covered area so use the Spot Healing Brush to fix it.
10. Change Color in Photoshop

If you have the online shop, it is likely to have the same model of clothing in different colors. A smart decision is to do it once and then create copies with all the needed color variations. A perfect instrument for this is the Hue/Saturation tool.